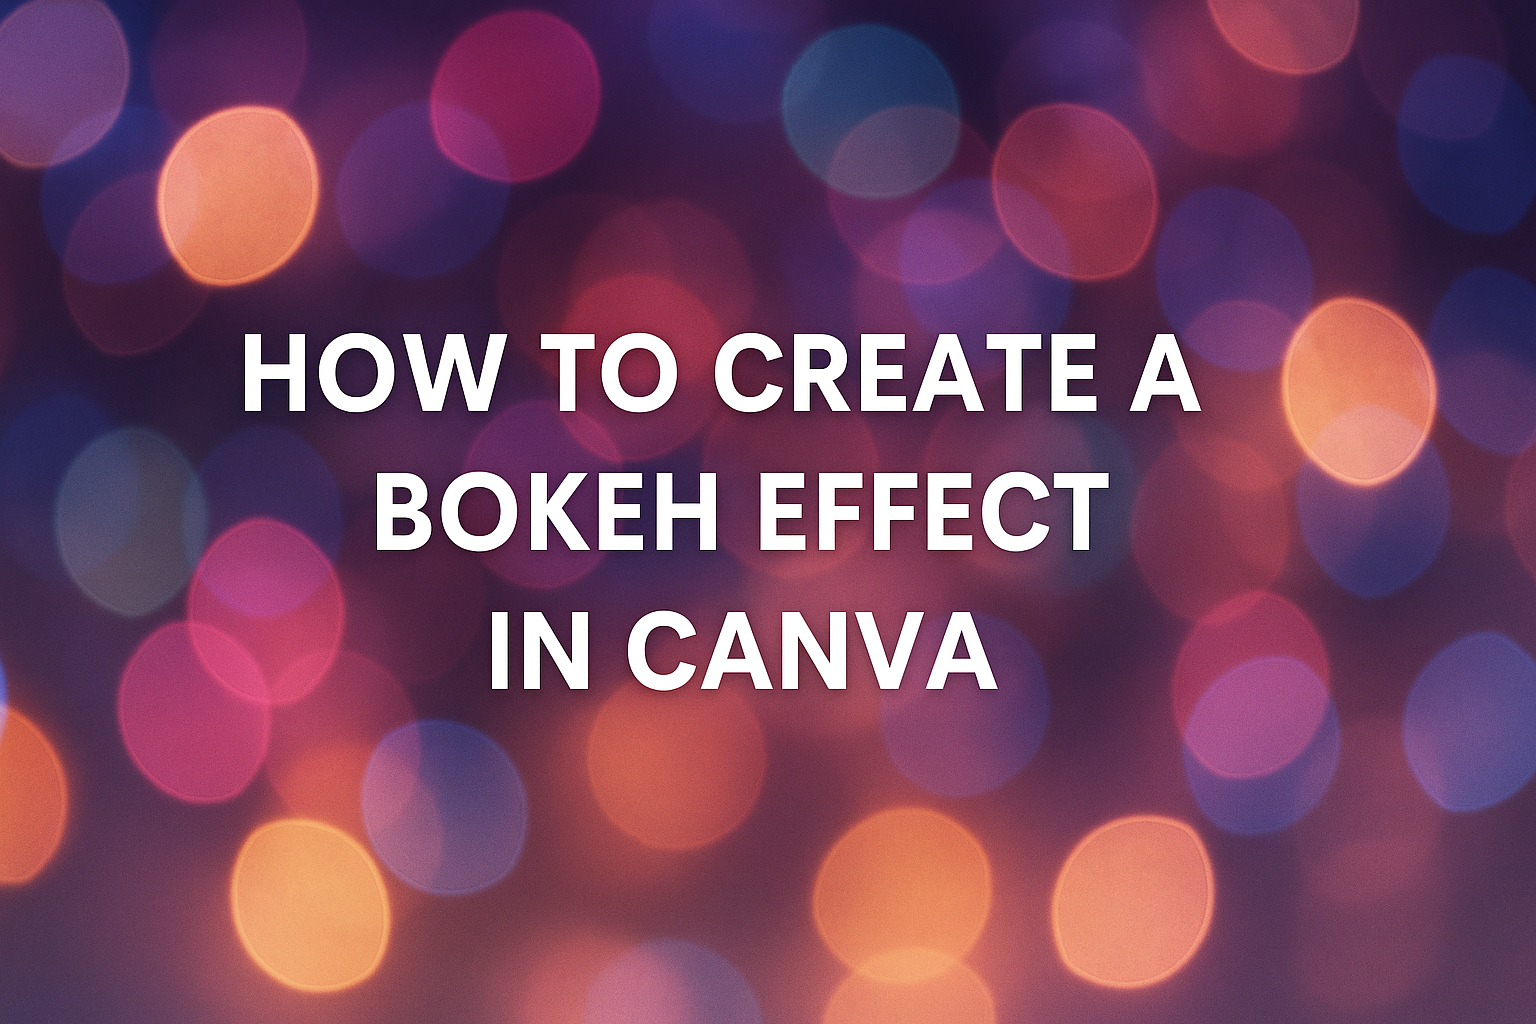
Creating a bokeh effect can greatly enhance the visual appeal of a photo, adding depth and a touch of magic.
To achieve a bokeh effect in Canva, users can utilize the “Bokeh” filter or manually place shapes to create the illusion of soft, out-of-focus backgrounds.
This makes it possible to highlight the subject while keeping the background beautifully blurred.
The charm of the bokeh effect lies in its ability to transform ordinary photos into stunning pieces of art. By cleverly focusing on the subject and adjusting the lighting, anyone can bring a dreamy atmosphere into their photos without needing advanced photography skills.
With Canva, applying this captivating effect has never been more accessible. Whether one wants to create a professional look or simply have fun with their designs, learning to master bokeh in Canva opens a world of creative possibilities.
Understanding the Bokeh Effect
The bokeh effect is a photography technique that creates a distinct and aesthetic blur in the out-of-focus areas of an image. It’s often used to make photographs more visually appealing by drawing attention to certain elements.
This effect has a rich history in photography and is instrumental in enhancing creative expression.
Definition of Bokeh
Bokeh refers to the aesthetic quality of the blur produced in the out-of-focus parts of an image. This effect is created by using a lens with a wide aperture, often described as having a pleasing background blur.
It is especially noticeable in portraits or close-up images where the subject is sharp, and the background is blurred, making the subject stand out.
The word “bokeh” comes from the Japanese word “boke,” which means “blur” or “haze.” Photographers aim to achieve this effect to convey a certain mood or atmosphere in their photos. Circle-shaped lights or colorful patterns often appear in the blurred sections, adding to the visual interest.
History of Bokeh in Photography
Bokeh has been a part of photography since the development of lenses capable of producing this effect. It became popular in the late 20th century as photographers began exploring ways to create more artistic photos.
Early photographers might not have explicitly mentioned bokeh, but they favored lenses that could produce such aesthetic blurs.
As cameras and lenses evolved, photographers grew more interested in controlling the background blur. Different lens manufacturers started creating lenses that specialized in creating distinctive bokeh patterns, influencing how the effect was used creatively.
This gave photographers more control and creativity in their compositions, allowing the bokeh effect to become a hallmark of artistic photography.
Getting Started with Canva
Canva is an easy-to-use design tool that allows users to create impressive visuals without needing professional skills.
This section covers the essential tools in Canva, creating an account, and how to easily navigate the platform.
Overview of Canva Tools
Canva offers a variety of tools to help users create stunning designs. It provides thousands of templates for presentations, social media posts, posters, and more.
Users can drag and drop images, text, and elements onto their canvases. There are also editing tools like crop, resize, rotate, and filters to enhance images.
Canva’s Elements tab provides access to shapes, icons, and lines. With these tools, users can let their creativity flow and produce unique designs effortlessly.
Creating an Account
To begin using Canva, new users need to create an account. They can sign up with an email address or use existing Google or Facebook accounts for quicker access.
Once signed up, users have free access to many features. Canva also offers a premium membership called Canva Pro, which provides more advanced tools and resources.
After registration, users can start exploring Canva’s features and begin their design journey.
Navigation Basics
Navigating Canva is intuitive and user-friendly. The home screen presents users with various design categories and quick links to their recent work.
The Search bar allows users to find templates or other design elements instantly. Tabs like “Templates,” “Projects,” and “Photos” help in finding specific resources.
Once a design is opened, the editing interface is straightforward, with tools and options neatly arranged for easy access. New users will find it easy to get accustomed to the layout and start creating right away.
Designing With the Bokeh Effect
Designing with the bokeh effect can add a dreamy quality to any project. It involves selecting an appropriate template, using a bokeh overlay, and tweaking intensity and opacity for best results.
Selecting the Right Template
Choosing the right template is crucial. Users should consider the project’s theme and color palette.
They might explore Canva’s diverse templates, seeking ones that complement the soft blur and circular light patterns of the bokeh effect. A well-matched template can make the bokeh effect stand out beautifully.
Additionally, templates with ample background space work well, allowing the bokeh to shine without overwhelming the main subject. People may find it helpful to preview several templates to see which one integrates best with the bokeh style.
Adding the Bokeh Overlay
Once the template is chosen, the next step is incorporating the bokeh overlay. In Canva, users can find this effect under the “Effects” tab or by manually adding shapes like circles to mimic bokeh lights.
They can follow simple steps, such as choosing shapes and arranging them in the background.
Customization is key when placing the overlay. Playing with the size and arrangement of the bokeh elements can lead to a unique design. Users should aim for a harmonious blend between the bokeh and the focal point of the design.
Adjusting Intensity and Opacity
Tweaking the intensity and opacity of the bokeh effect determines its impact. High intensity can draw attention to the background blur, while low intensity offers a subtle touch.
In Canva, sliders help adjust these parameters with ease. Users simply move the sliders for their desired look.
Furthermore, altering opacity can help integrate the bokeh effect seamlessly into the design. Lower opacity can lend a gentle, ethereal feel, whereas higher settings add boldness.
Experimenting with these settings ensures that the bokeh effect enhances rather than distracts from the primary elements of the project.
Customizing Your Bokeh Design
Creating a bokeh effect in Canva allows for unique personal touches. You can change bokeh colors to match any theme and incorporate text or other elements for added creativity.
Changing Bokeh Colors
In Canva, changing the colors of your bokeh design is easy. Start by selecting the bokeh layer you want to adjust.
Look for the color panel, usually on the toolbar, where you can pick from various colors. This feature lets you match the bokeh effect with your image’s theme or mood.
If you’re unsure about which colors to choose, consider the overall color palette of your design. A coordinated look enhances the aesthetic appeal.
Users often find that warm colors add a cozy feel, while cool colors can make the design look fresh and modern. Experimenting with different shades may inspire even more creative ideas.
For those wanting a more personalized touch, Canva offers a Bokeh filter that you can apply to your photos for added depth and flair.
Incorporating Text and Elements
Adding text and other design elements to your bokeh effect can make your project stand out. Start by selecting the “Text” tab in Canva and choose your preferred font.
Bold fonts work well if the bokeh background is busy, as they ensure the text remains readable.
After adding text, consider placing additional design elements like shapes or icons. Canva provides a variety of elements accessible through the “Elements” tab.
Select shapes that complement the overall theme and style of your project.
Incorporating elements that suit your bokeh design is crucial. They should enhance, not detract from, the main focus of your design. Keeping balance can elevate the professionalism of your final outcome.
Applying Advanced Techniques
To enhance your bokeh effect in Canva, creating custom brushes and layering images can make a huge difference. These methods add depth and uniqueness to your designs, making them stand out.
Creating Custom Bokeh Brushes
Design enthusiasts can elevate their bokeh effect by using custom brushes in Canva.
Using the Elements tab, they can select shapes that resemble bokeh lights, such as circles or soft-edged shapes. By adjusting the size and opacity, these shapes can imitate the soft glow of a bokeh effect.
To make the brushes feel more natural, users can experiment with different colors and slightly varied opacities. This gives a more organic look and beautifully mimics the subtle variations found in real photos.
With custom brushes, designers have more control over the placement and appearance of bokeh elements, allowing for a truly personalized touch to their projects. It’s a simple yet effective way to make bokeh effects more dynamic and engaging.
Layering Multiple Bokeh Images
Layering is another powerful technique to enrich bokeh designs.
Users can upload or create multiple bokeh images and start layering them to create an intricate depth effect. Each layer can be adjusted in terms of transparency to achieve varying degrees of light and shadow.
One effective approach is to start with a subtle bokeh background and add more distinct, larger bokeh elements in the foreground. This creates a sense of depth, drawing the viewer’s attention to the main subject of the design.
When layering, it’s crucial to experiment with different blend modes available in Canva. These modes alter how layers interact, providing interesting effects and adding to the overall richness and detail of the design. This technique helps users craft visually appealing and textured bokeh effects that capture attention.
Finalizing and Sharing Your Design
After creating the perfect bokeh effect in Canva, your design is almost ready to be shared with the world. The next steps involve making sure everything looks great and choosing the best ways to share your creation.
Previewing and Testing Your Design
Before finalizing your design, it’s important to preview it to ensure that the bokeh effect looks just right. Use Canva’s preview feature to see the design in different formats, such as desktop and mobile views.
This helps ensure that your design maintains its quality across various devices and platforms.
Testing the design with trusted friends or teammates can provide valuable feedback. They might notice details that can be improved or suggest enhancements.
Pay attention to how your design elements appear and adjust any elements that don’t look as expected.
Exporting Options
Canva offers several exporting options to suit your needs. You can save your design in various formats like JPEG, PNG, or PDF.
Choosing the right format depends on where you plan to use your design.
For online sharing, a PNG file is great due to its higher quality and ability to handle transparency. If you’re printing the design, consider exporting as a PDF to maintain resolution and layout integrity.
Canva allows easy adjustments to the export settings, such as changing image dimensions or quality, making it easy to tailor your design for its intended use.
Sharing on Social Media
Once the design is ready, sharing on social media is a breeze with Canva. The platform offers direct sharing options to popular social networks like Facebook, Instagram, and Twitter.
This makes it simple to showcase your bokeh-enhanced design to a wide audience without leaving Canva.
To maximize engagement, consider crafting a compelling caption or using relevant hashtags. This can help increase visibility and attract the right audience.
The direct share feature streamlines the process, allowing for quick and seamless posting, so your creative work reaches your followers effortlessly.