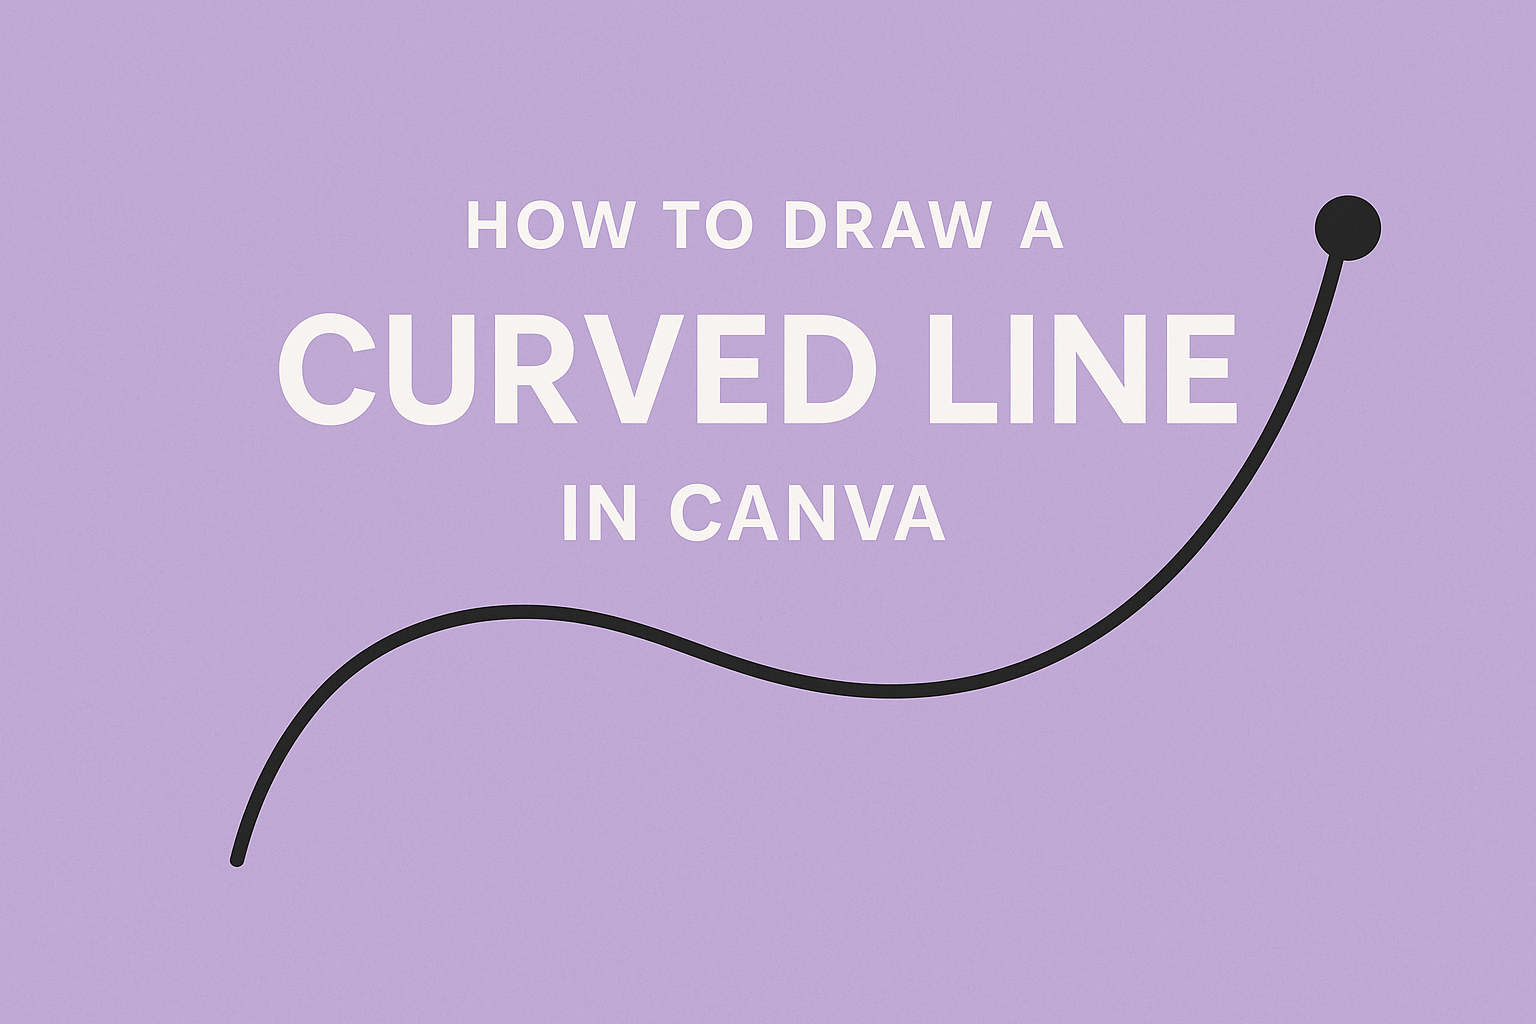
Creating engaging designs in Canva is a lot of fun, especially when you learn little tricks that can make a big difference. One such trick is drawing a curved line. Whether embellishing a flyer or adding flair to a social media post, a curved line can add elegance and dynamism to any design.
Canva offers tools to make this process simple and intuitive.
To start, Canva users can utilize the “Draw” tool found in the Elements tab. Dragging the handles on either end of a line allows for easy adjustments to the curve.
Another way is by searching for pre-made curved lines within the Elements tab, streamlining the process for quicker design tweaks. These options make it accessible for everyone to add a creative touch to their projects.
For those who want a step-by-step guide, several resources are available, such as the helpful tutorial found in this blog post on Rent My Words. With the right guidance and a bit of creativity, anyone can transform simple designs into something uniquely eye-catching.
Getting Started with Canva
Starting a design in Canva is simple and user-friendly. Anyone can create professional-looking graphics with a few easy steps.
This guide will help you navigate creating a new design and getting comfortable with the platform’s tools and layout.
Creating a New Design
To begin, users should first sign in to their Canva account or create one if they haven’t already. Once logged in, they can find the “Create a Design” button, usually located on the homepage.
Clicking on this opens a dropdown menu with various design options, such as social media posts, presentations, and custom dimensions.
Users can choose from pre-sized templates or set their own dimensions. For those who want to start from scratch, simply entering custom dimensions for a specific project is possible.
Once the size is set, a blank canvas appears, ready for creative input.
Templates are available for quick and easy starts, offering styles suitable for different needs. Users are free to edit these, providing flexibility for both beginners and experienced designers.
Starting a design is intuitive, encouraging exploration and creativity without being overwhelming.
Familiarizing with the Interface
Canva’s interface is clean and straightforward. On the left side, users will find the toolbar containing essential elements like text, photos, and shapes.
Clicking on “Elements” opens up a wide array of graphics, including lines, frames, and stickers. These are essential for adding visual interest to designs.
The top bar offers options for undoing or redoing actions, adjusting text alignment, and changing colors. Users can also upload images or graphics by dragging them directly onto the canvas or using the upload button.
On the right side, Canva displays helpful tips and suggestions. This area may also include any open projects, making it easy to switch between tasks.
With tools and options readily accessible, users can focus on creativity. Understandably, it may take some time to feel completely at home, but exploration encourages confidence and skill development.
Basics of Drawing Lines
Drawing lines in Canva is a straightforward process if you know the steps. You start by selecting the right tool, then establish the type of line you want to create.
Selecting the Line Tool
To draw a line in Canva, first click on the “Elements” tab. This tab is located on the left-hand side of the screen. Under “Elements,” you will find categories like “Lines” and “Shapes.”
Look for the section labeled “Lines.” Here, users can choose from various line styles. These styles include straight, dotted, or dashed lines. Each style can be customized in terms of thickness and color.
Once a line style is selected, the line tool will activate. This action allows users to drag their mouse to draw the desired line length.
Selecting the line tool from the “Elements” tab is key in starting a design with basic lines.
Drawing Straight Lines
To draw a straight line, click on the line tool from the “Elements” tab. Once you have selected a line style, click and hold your mouse on the canvas where you want the line to start.
Drag your mouse to extend the line in the desired direction. Holding the “Shift” key while dragging helps ensure that the line stays perfectly straight, either vertically or horizontally.
For more precision, users can adjust the line’s length by grabbing either end of the line and moving it. Experimenting with different line lengths and placements can lead to unique and clean designs.
Straight lines form the backbone of many designs and adding them is a simple task in Canva.
Drawing Curved Lines
Creating curved lines in Canva can add a unique flair to any design. Learn how to use the Curve Tool, adjust the curve radius, and modify line thickness and style for the best results.
Using the Curve Tool
The Curve Tool in Canva is a simple yet powerful feature. It helps to create smooth, flowing lines effortlessly.
First, open a project and select the Elements tab. From there, choose the Shapes option. You can pick from circles or other shapes to act as the base for your curve.
Click on the selected shape and look for the Curve option that lets you warp the line into the desired form. This allows the user to control the bend of the line, making it easy to add unique curves to any design.
Using the Curve Tool is a great start for anyone looking to enhance their visuals with curved lines.
Adjusting the Curve Radius
Adjusting the curve radius allows users to control the arc of the line. After selecting the curve, you will find handles on either end.
Drag these handles to change the degree of the curve. Moving the handles closer creates a sharper curve, while spreading them apart results in smoother arcs.
This flexibility lets designers match curves to the specific needs of their projects.
Whether a gentle wave is needed or a dramatic arch, adjusting the curve radius is key. Mastering this step ensures your curved lines look just right in any context.
Modifying Line Thickness and Style
Changing the thickness and style of a curve can dramatically affect its appearance. To adjust the thickness, select the curved line and locate the thickness adjustment option in the toolbar.
Increasing the line’s weight makes it bolder, while decreasing it provides a subtle touch.
Canva also offers different styles like dashed or dotted lines. These styles can be accessed through the Line Style option.
Choosing the right thickness and style helps make the curve fit perfectly with the rest of the design. Experimenting with these options gives each project a personalized touch.
Advanced Line Editing
To create more detailed and custom designs in Canva, advanced line editing techniques are crucial. They enhance the flexibility of curved lines and add precision and creativity to any project.
Adding Points to a Line
Adding points to a line is essential for making intricate designs. In Canva, users can insert additional points by selecting the line and choosing the Edit Shape option.
When a point is added, it creates a new segment that can be independently adjusted. This technique is especially useful for creating custom shapes and patterns.
The insertion of more points allows for greater control over the line’s path. Each point can be dragged to new positions, enabling designers to create complex and detailed curves.
Multiple points also provide the ability to change the direction of the curve, creating zigzags or wavy designs with ease.
Manipulating Points for Custom Curves
Once points are added to a line, manipulating them is key for achieving the desired curve. By clicking on each point, users can drag them to adjust the line direction and curve.
Fine-tuning these points allows for precise customization of the curvature and flow.
Canva provides intuitive handles that can be pulled to change the angle and length of each line segment between points. This helps in smoothing out the curves or making them sharper, depending on the design objective.
The ability to manipulate these points gives the designer full creative freedom to explore various line styles.
Applying Color and Effects
Adding color and effects to curved lines in Canva can enhance the visual appeal of any design. By adjusting the color and applying gradient effects, users can make their graphics more engaging and visually dynamic.
Changing Line Color
To change the color of a curved line in Canva, users should first select the line they want to modify.
Once selected, they can navigate to the toolbar where the color palette is available. Here, Canva offers a wide range of color options to choose from. By clicking on the desired color, the line updates instantly.
Custom colors can also be created using the color wheel found under the palette. This allows for more precise color matching and contrast adjustments.
Users can also input a specific hex code to get exactly the color they want. Experimenting with different shades can change the overall look and feel of the design, making it more cohesive with the project’s theme.
Applying Gradient Effects
Gradients can add depth and interest to curved lines. To apply a gradient in Canva, start by selecting the curved line. Then, go to the right-hand panel and look for the gradient options under the color tab.
Canva might offer linear or radial gradient choices.
Users can adjust the gradient effects by choosing two or more colors that transition smoothly. The direction and angle of the gradient can also be customized for different effects.
This can create a more dynamic and eye-catching appearance in the design. While gradients can be subtle, they often make a big impact in engaging the audience.
Arranging Objects and Lines
Arranging objects and lines in Canva enhances the flow and structure of your design. The following sections explore layering elements and aligning lines for a balanced composition.
Layering with Other Elements
In Canva, users can layer elements over each other to create depth and interest. To do this, select the object and use the “Position” tool to bring elements forward or send them backward.
This tool helps in organizing the hierarchy of visuals.
Layering is especially useful when combining lines with other shapes or text. By layering, designers can highlight important areas, emphasizing certain elements over others.
For instance, curved lines can guide the viewer’s eye to a focal point. Experimenting with transparency and color enhances this effect, making designs visually appealing.
Aligning Lines within the Composition
Aligning lines properly within a composition ensures everything looks neat and professional. Canva makes this easy with alignment guides that appear while dragging elements.
By aligning lines with text or other shapes, users maintain balance. Alignment options in the toolbar, such as “Center” or “Align Left,” also help achieve precision.
Incorporating curved lines in a symmetrical fashion can also add harmony. Users can adjust line thickness and color to match the theme of the design.
These adjustments maintain a consistent look, which is crucial for polished, cohesive graphics. Having aligned and well-placed lines enhances readability, directing focus to the message or theme.
Practical Tips for Curved Lines
Using curved lines in Canva can add elegance and direction to any design. Mastering curves requires attention to aesthetic balance and visual flow, ensuring the design is both beautiful and functional.
Maintaining Aesthetic Consistency
Aesthetic consistency is key when using curved lines.
It’s important to match the style of the curve with the overall design theme. Users should consider the thickness, color, and style of the line to make sure it complements other elements in the design.
For instance, a minimalist design would benefit from simple, sleek curves, while a more playful design might call for bold, colorful lines.
Using the same curve style throughout the design ensures harmony. Repetition of a certain curve type, or mirroring the curve in opposite directions, can pull the separate design elements together. This helps in maintaining unity and a cohesive look across the project.
Even small details, like spacing around the curves, can affect the design’s balance. Consistent distance between curved elements can enhance the rhythm and flow, making the design pleasing to the eye.
Using Curves to Guide Viewers’ Eyes
Curved lines can direct attention and improve readability. They can lead the viewer’s eye from one element to another, creating a natural path through the design.
For example, a gentle arc can connect text blocks or guide the eye to a focal image. It’s a subtle way to emphasize important parts of the layout.
Incorporating curves strategically helps create movement in a static design. They can make the page feel dynamic and alive by simulating motion.
Curved lines are effective in setting a mood or conveying motion, such as a wave to suggest fluidity or rounded shapes for a softer feeling.
Understanding the psychological impact of different curve styles can elevate the effectiveness of the design. Curved lines not only enhance the visual aesthetic but also enrich the viewer’s experience by making designs more engaging and intuitive.