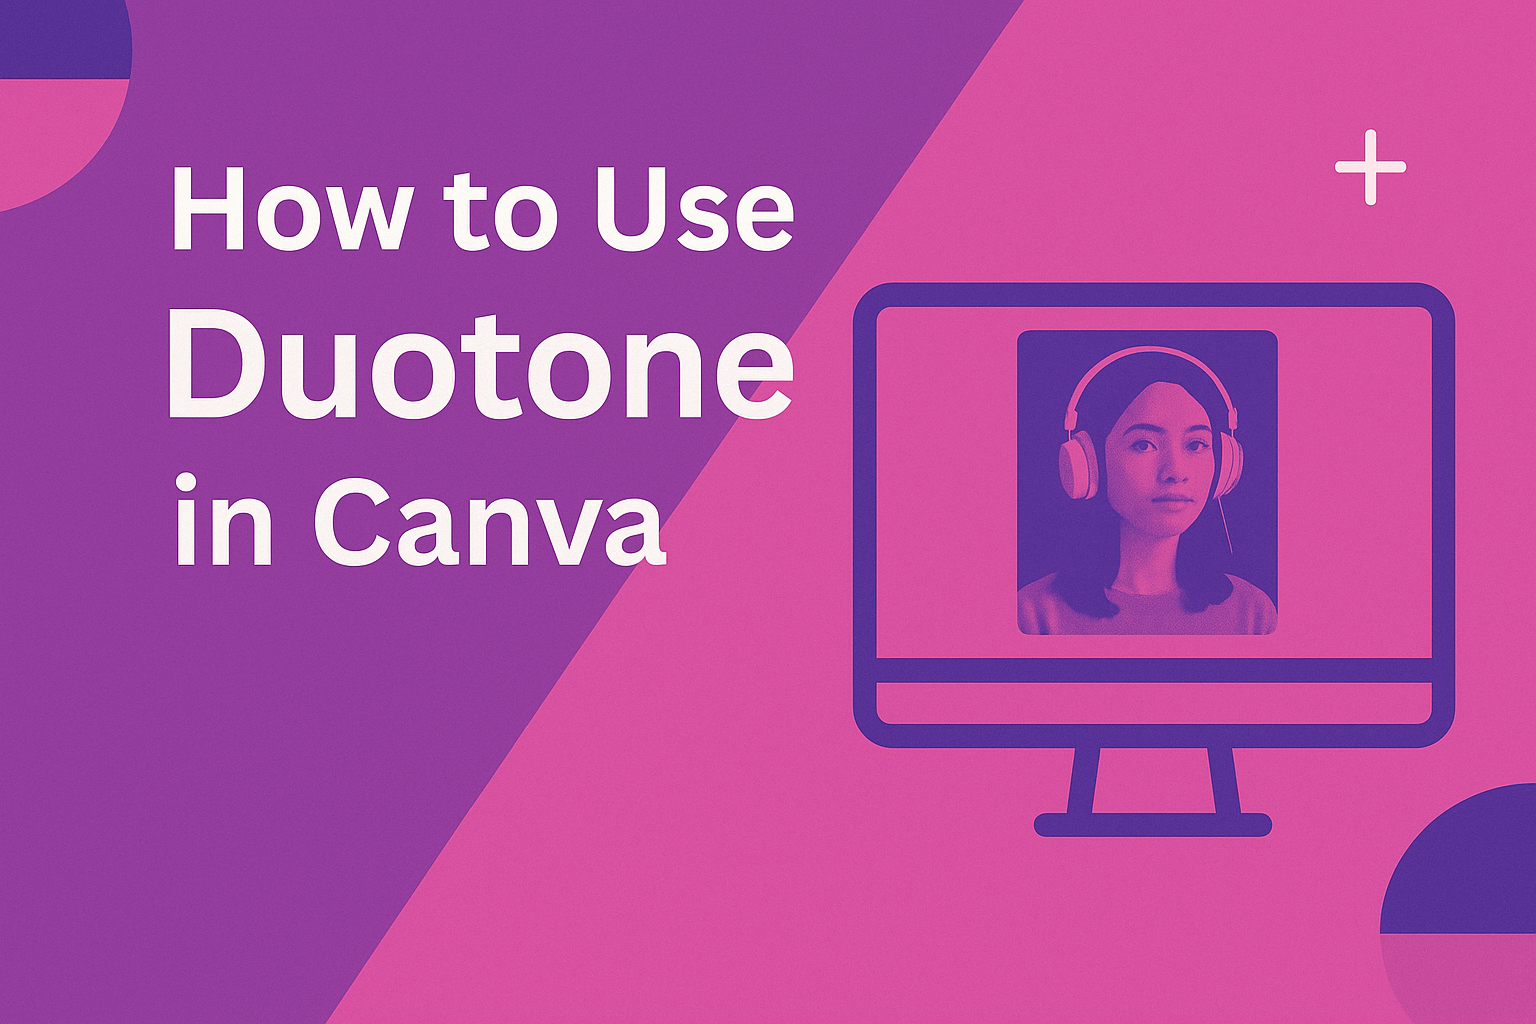
Designers often look for simple ways to make their projects stand out, and Canva’s duotone effect is one of the easiest tools to achieve that. Using duotone in Canva lets anyone transform a plain photo into a bold, eye-catching design with just two colors. This effect works well for social media graphics, posters, and even brand visuals.
With just a few clicks, they can apply preset duotone filters or customize their own by adjusting highlights and shadows. The process is quick, and it doesn’t require advanced design skills. This makes it a flexible option for both beginners and experienced creators.
Beyond the basics, duotone opens up creative possibilities that go far beyond recoloring an image. From subtle tones that create a professional look to vibrant contrasts that grab attention, the effect can set the mood and style of an entire project.
What Is Duotone in Canva?
Duotone in Canva uses two colors to transform an image into a bold and simplified design. It changes highlights and shadows into chosen hues, making photos more consistent with a brand style and easier to adapt for digital or print projects.
Definition and Design Principles
The duotone effect replaces the natural tones of an image with two selected colors. One color applies to darker areas (shadows), while the other applies to lighter areas (highlights). This creates a balanced look that emphasizes shape, contrast, and mood.
Designers often choose duotone because it simplifies complex photos. By reducing an image to two tones, distracting details fade, and the subject becomes clearer. This makes it especially useful for backgrounds, social media graphics, and promotional visuals.
In Canva, applying duotone is straightforward. Users can select from preset filters or customize their own by adjusting highlight and shadow colors. The result is a design that feels polished without requiring advanced editing skills.
Benefits of Duotone Effect
Duotone adds visual interest by introducing strong contrast and a modern style. It can make ordinary photos look more professional and aligned with a brand’s identity. For example, choosing company colors for duotone ensures consistency across marketing materials.
Another benefit is flexibility. The duotone effect works well for posters, ads, and online content because it adapts easily to different color schemes. It also helps text placed over an image stand out more clearly, since the simplified tones create better readability.
Designers also use duotone to set a mood. Warm tones can feel inviting, while cooler tones create a calm or serious atmosphere. In Canva, experimenting with these combinations allows users to control how their audience perceives the design.
Duotone vs. Other Color Effects
Duotone is often compared to grayscale, sepia, or full-color filters. Unlike grayscale, which removes all color, duotone replaces it with two chosen hues. This gives more creative freedom while still keeping the design simple.
Compared to sepia, which has a fixed brownish tone, duotone is more versatile. Users can pick any two colors, making it suitable for branding or unique styles.
Full-color filters enhance existing colors, but they don’t simplify an image. Duotone, on the other hand, reduces complexity and highlights structure. In Canva, this makes it a practical choice for designs that need clarity and boldness.
Getting Started with Duotone in Canva
Using the duotone effect in Canva depends on knowing where to find the tool, what devices support it, and how to enable it. The setup is simple, but the process can vary depending on whether someone uses the free version or Canva Pro.
Accessing the Duotone App
The duotone app is located inside Canva’s Edit Image panel. After selecting an image, users can scroll through the editing options until they find Duotone.
Once opened, the app displays preset filters with two-color combinations. These presets can be applied with a single click. Users can also customize the highlight and shadow colors to match brand guidelines or personal preferences.
To fine-tune the effect, Canva allows adjustments to intensity, brightness, and contrast. This flexibility makes the duotone app useful for both simple edits and more advanced design needs.
Supported Devices and Versions
The duotone effect works best on the desktop version of Canva. While Canva has mobile apps for iOS and Android, the duotone app is not always available or may have limited functionality on smaller screens.
For the most reliable experience, users should access Canva through a web browser on a computer. Both free and Canva Pro accounts can use the duotone app, though Pro subscribers may have access to more advanced editing tools and premium color palettes.
It’s also important to note that duotone is available across most modern browsers, including Chrome, Firefox, and Edge. Outdated browsers may not display the effect correctly, so keeping software updated is recommended.
Installing the Duotone Feature
The duotone app is not installed separately; it comes built into Canva’s editor. Users do not need to download extra software. Instead, they simply enable it the first time they use it.
When selecting Edit Image, Canva may prompt users to “connect” the duotone app. This step adds it to the editor for quick access in future projects.
Once connected, the app stays available in the editing panel. Users can then apply duotone to any uploaded photo or Canva library image without repeating the setup. This makes the feature easy to access whenever needed.
How to Apply Duotone Effect to Images
Applying the duotone effect in Canva involves choosing the right photo, selecting two colors that work well together, and fine-tuning the highlights and shadows for balance. Each step helps ensure the image looks polished and fits the style of the design.
Selecting and Uploading Photos
The duotone effect works best on photos with strong contrast and clear subjects. Images with simple backgrounds or bold shapes usually give better results than cluttered or low-contrast photos.
Users can upload their own photos into Canva or pick from Canva’s large photo library. To upload, they click Uploads in the sidebar, then drag and drop files or select them from their device.
When browsing Canva’s library, it helps to use specific keywords to narrow down image choices. For example, a black-and-white portrait often adapts well to duotone because the effect highlights both shadows and bright areas.
Choosing Duotone Colors
Once a photo is selected, the next step is applying the duotone effect. In Canva, this is done by clicking Edit Image and scrolling to the Duotone option. Users can then pick from preset color combinations or create their own.
The duotone effect relies on two colors—one for highlights and one for shadows. A darker shade usually defines the shadows, while a lighter or brighter shade enhances the highlights.
Color choice can change the mood of the design. For example, blue and purple tones can create a calm look, while orange and pink may feel more energetic. Canva makes it easy to experiment by previewing different filters until the right match is found.
Adjusting Highlights and Shadows
After applying colors, users can refine the look by adjusting highlight and shadow settings. In Canva, sliders allow control over brightness, contrast, and transparency within the duotone effect.
Small adjustments can make a big difference. Increasing shadow intensity can add depth, while boosting highlights can make details stand out.
For more creative control, users can mix non-traditional color pairs. According to Canva’s help center, adjusting these settings helps bring out depth and dimension, making the duotone look more professional.
Experimenting with subtle changes ensures the final image feels balanced and not overly saturated. This step is key to making the duotone effect look intentional rather than distracting.
Creative Ways to Use Duotone in Canva
Designers often use the duotone effect to highlight contrast, bring out brand colors, and add visual interest to otherwise plain designs. It can help logos stand out, create depth in images, and even combine colors in unique ways for more professional visuals.
Changing Logo Colors
When a logo blends into a background, it can lose impact. The duotone effect helps fix this by letting users recolor the logo with two chosen shades. This makes the logo pop and remain readable across different backgrounds.
For brand consistency, users can match the duotone colors to their brand palette. This ensures the logo looks polished and professional without needing a redesign. It is especially useful when placing logos on marketing materials with varied backgrounds.
A simple way to apply this is to upload the logo into Canva, select Edit Image, and choose Duotone. From there, users can pick two shades that match their brand or complement the background. Tutorials like this one on changing logo colors with duotone show how effective this can be.
Creating Custom Shadows
The duotone effect can also create subtle shadow effects that add depth to images. By applying two similar colors, users can mimic a soft shadow that makes objects stand out more clearly.
This technique works well for profile photos, product shots, or any design that needs an extra layer of separation from the background. It adds dimension without needing advanced editing tools.
A quick method is to duplicate the photo, apply a darker duotone to the copy, and then place it slightly behind the original image. This creates a clean shadow look that feels professional. Designers often use this trick to make social media graphics more engaging, as shown in tutorials on creating shadows with duotone.
Combining Multiple Duotones
Applying more than one duotone to a single image can create striking, layered effects. This approach allows designers to split an image into sections, each with different color tones. The result is a bold, modern style that grabs attention.
For example, a photo could use one duotone on the top half and another on the bottom. This creates contrast and makes the design look more dynamic. It works well for social media posts, posters, and digital ads.
To do this in Canva, users can duplicate an image, crop each copy to cover different areas, and then apply separate duotones. A guide on combining multiple duotones explains how this technique can make visuals more original and eye-catching.
Tips for Professional Visuals with Duotone
Designers often use duotone in Canva to create visuals that feel polished and consistent. Choosing the right colors and combining effects with other tools can help make images stand out while staying aligned with a project’s purpose.
Brand Matching and Consistency
One of the most effective ways to use duotone is for brand alignment. By selecting brand colors for highlights and shadows, designers can keep graphics consistent across social media, presentations, and marketing materials. This helps audiences recognize the brand quickly.
Canva Pro users can save custom color palettes, making it easier to apply the same duotone effect across multiple projects. Even free users can still choose custom colors, but they may need to reselect them for each design.
A simple approach is to use one brand color for shadows and a lighter complementary color for highlights. For example:
| Shadow Color | Highlight Color | Result |
|---|---|---|
| Navy Blue | Sky Blue | Cool, professional look |
| Dark Green | Light Green | Natural, calm style |
| Black | Brand Accent | Bold, modern effect |
Keeping duotone consistent across visuals avoids mismatched tones that can weaken the professional look.
Using Duotone with Background Remover
Combining duotone with Canva’s background remover can create clean, professional visuals. Users can isolate a subject and then apply duotone to either the subject or the background for contrast. This technique works well for profile images, product photos, and marketing graphics.
For example, a product photo can have the background removed and replaced with a duotone gradient. This makes the product stand out while keeping the design simple. Tutorials such as Remove Background & Duotone Apps in Canva show how to use both tools together.
Designers often use this method to highlight people or objects while giving the background a branded duotone effect. It adds depth without distracting from the main subject.
Exporting and Sharing Your Duotone Designs
After applying the duotone effect in Canva, the next step is to save the design in the right format and decide how to share it. Choosing the correct settings helps maintain image quality while making it easy to post or send to others.
File Formats and Download Options
Canva lets users export duotone designs in several formats, each suited for different needs. PNG works best for high-quality images, especially when transparency is required. JPG is smaller in file size, making it better for web use or quick sharing. PDF is useful for print projects like flyers or posters.
Users can also adjust resolution. Selecting Standard creates a smaller file, while High Quality keeps more detail for professional use. Canva Pro users can even export with a transparent background, which is helpful when layering duotone graphics over other elements.
When downloading, Canva provides options to compress files, crop marks for printing, or even export multiple pages as a single PDF. Taking a moment to choose the right settings ensures the duotone effect looks sharp in its final form.
Sharing Designs on Social Media
Canva makes social sharing simple by allowing direct posting to platforms like Facebook, Instagram, and Twitter. Instead of downloading first, users can connect their accounts and publish their duotone designs straight from the Canva dashboard.
This feature saves time and keeps image quality intact. It also allows scheduling posts, which is handy for consistent branding. For example, a duotone Instagram story can be scheduled alongside a matching Facebook post.
If users prefer manual uploads, they can download the design in the recommended format for each platform. PNG is often best for Instagram and Facebook, while JPG works well for Twitter due to faster loading.