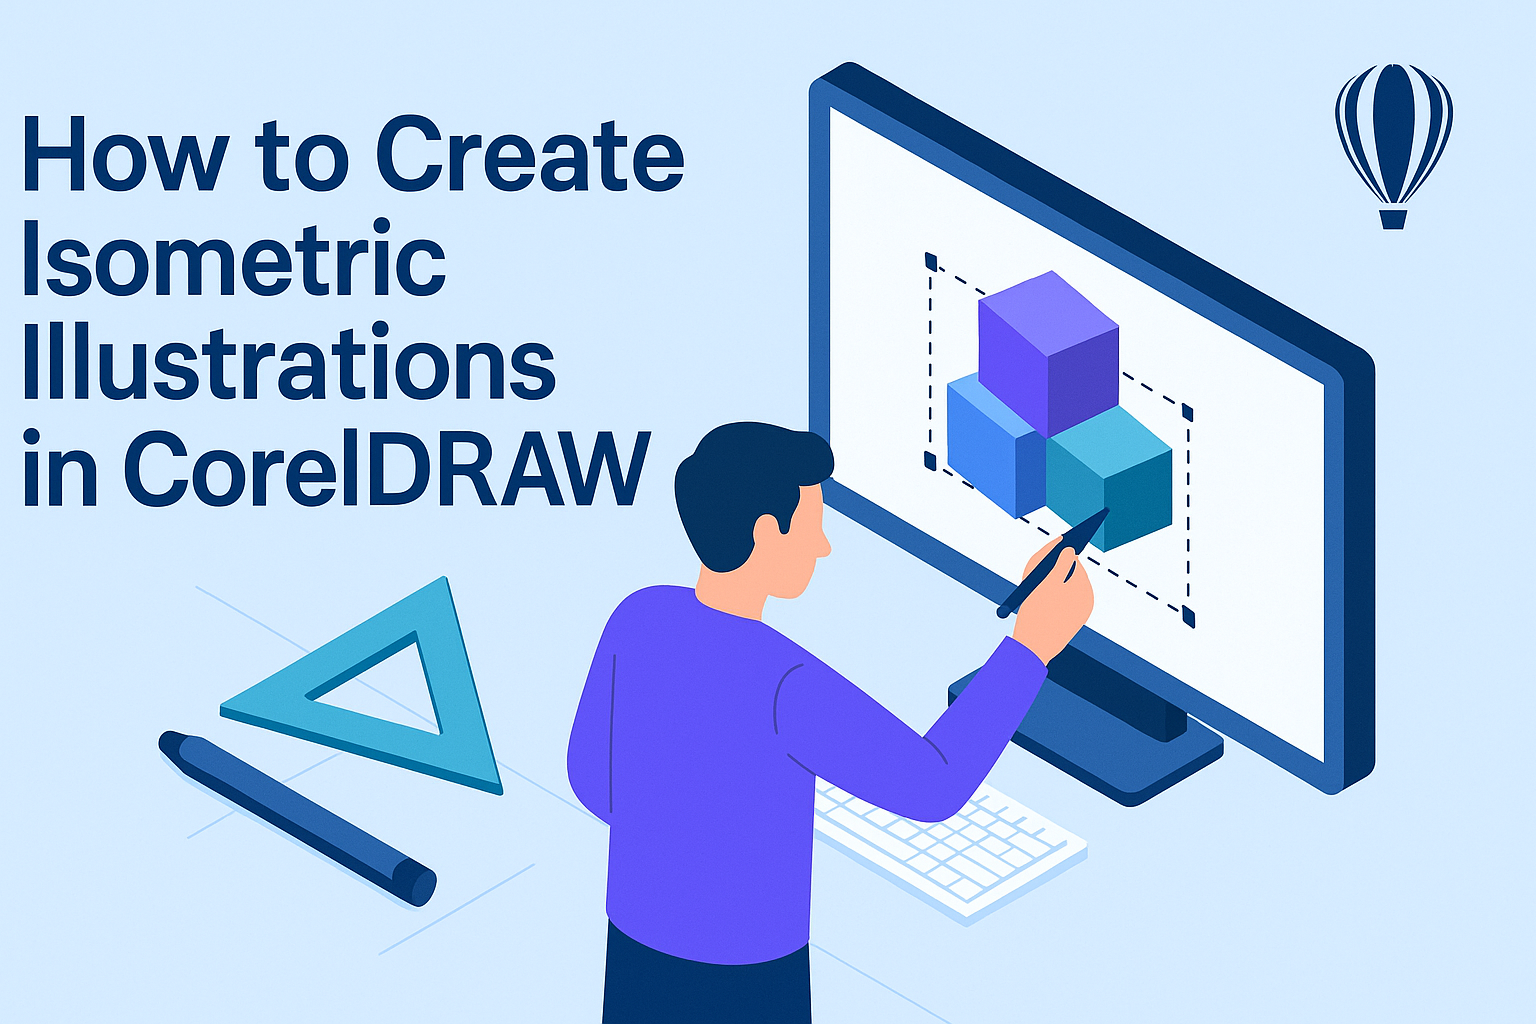
Creating isometric illustrations in CorelDRAW can transform simple shapes into engaging 3D designs. This technique is popular among graphic designers due to its ability to show multiple sides of an object clearly.
CorelDRAW offers tools that simplify the process of creating isometric illustrations, even for beginners. With the right setup and a good understanding of isometric grids, designers can produce intricate and realistic designs. The platform provides several tutorials that guide users through making perfect designs, including resources like creating a perfect isometric grid in just minutes.
There are various methods and tutorials available for those interested in learning isometric illustration. These tutorials cover step-by-step processes to assist both beginners and experienced designers in elevating their work. Readers can start with simple objects and gradually tackle more complex illustrations, expanding their skills along the way.
Understanding Isometric Illustration
Isometric illustration is a unique style that allows artists to create three-dimensional objects on a two-dimensional plane. This style uses specific angles and techniques to provide depth and dimension without using typical perspective drawing methods.
Isometric vs. Perspective Drawing
Isometric illustration relies on creating depth through angled views, unlike traditional perspective drawing. In isometric drawings, the X, Y, and Z axes are set at equal angles, usually at 30 degrees, forming a 120-degree angle between each axis. This method results in objects that maintain their dimensions without distortion, giving the appearance of equal size irrespective of distance from the viewer.
In contrast, perspective drawing utilizes vanishing points to create depth, where lines converge at these points. This method can depict objects appearing smaller as they move further away, creating a realistic view of space. Understanding these differences helps artists choose the appropriate method for their projects.
The Basics of Isometric Art
Isometric art uses a grid system that helps artists align their elements. By visualizing the three axes at equal angles, artists can maintain consistency across their work. Starting with an isometric grid is essential, as it guides the creation of shapes and ensures alignment.
When constructing an isometric illustration, artists often begin with basic geometric shapes. These shapes are then combined and transformed into more complex forms. The use of consistent angles can create a sense of volume and depth, which brings the illustrations to life.
The grid system not only helps to maintain proportion but also speeds up the creation process by providing clear guides for each shape and line.
Applications of Isometric Illustrations
Isometric illustrations find uses in various fields due to their clarity and visual appeal. Common applications include creating infographics, where the lack of distortion makes information easy to digest. They are also popular in game design, particularly in creating environments that require a three-dimensional feel on a flat screen.
Moreover, isometric art is used in technical drawings, where precise measurements and angles are necessary. It’s especially useful for engineering and architectural designs, providing a detailed view of a structure or component without the complications of perspective.
These illustrations are versatile and serve both functional and aesthetic purposes across different industries.
Getting Started with CorelDRAW
For those new to CorelDRAW, setting up a personalized workspace is crucial for efficiency. Understanding the tools and menus can speed up the design process and enhance creativity.
Setting Up Your Workspace
Getting started with CorelDRAW begins with a well-organized workspace. Users can customize their environment by adjusting the layout to fit their workflow. Personalizing toolbars and arranging palettes where they’re easily accessible will save time.
A clean workspace helps focus on design. Dockers and panels can be positioned according to user preference. Customize shortcuts for frequently used actions, as this increases speed. It’s also important to set up grids and guidelines for precise work, which is especially useful when working on isometric illustrations.
Overview of Tools and Menus
CorelDRAW offers a variety of tools and menus that cater to different design needs. The Pick Tool is used to select and edit objects. The Shape Tool allows users to refine shapes and paths. Other essential tools include the Pen Tool for drawing and the Text Tool for adding typography.
Menus in CorelDRAW are categorized for easy navigation. The File menu manages documents, while the Edit menu features commands like cut and paste. The Effects menu adds different visual enhancements to designs.
Understanding these tools and menus can make using CorelDRAW more intuitive and efficient for creating detailed illustrations.
Creating the Isometric Grid
Creating an isometric grid in CorelDRAW is a crucial step for illustrations. This process involves setting up angles and using CorelDRAW’s tools for precision.
Understanding Isometric Angles
Isometric drawings rely on angles that make the illustration look 3D. The key angles are 30 degrees from the horizontal. This setup helps in giving depth without altering size. Each angle creates a sense of balance and symmetry.
To achieve this, it’s important to adjust your tools. Using guides in CorelDRAW can help maintain these angles. Many tutorials suggest using templates as a starting point to save time. Understanding these angles is foundational for creating realistic designs.
Drawing the Grid in CorelDRAW
In CorelDRAW, start by opening a new project. Use the grid setup tools to draw lines at 30-degree angles. These lines will crisscross the page. Select the grid tool from the toolbar. Customize the spacing to keep the lines even.
Another method involves creating a basic rectangular grid. Then, by using the transformation features, set the grid angles. For quick adjustments, CorelDRAW offers settings for non-uniform transformations. This ensures that each element follows the isometric structure accurately.
Using tools like snapping helps in aligning objects precisely. Some tutorials, like this one on YouTube, show step-by-step processes to enhance accuracy.
Drawing Isometric Objects
Creating isometric objects in CorelDRAW involves understanding how to draw basic shapes and adjust them into an isometric view. These steps help bring depth to your illustrations.
Basic Shapes and Structures
To start with drawing isometric objects, designers often create basic shapes like squares, rectangles, or circles. These shapes form the foundation for more complex structures. Using CorelDRAW, one can easily manipulate these shapes using tools available in the software.
A grid can guide the drawing process, helping ensure that angles and proportions remain consistent. Setting up an isometric grid allows for aligning the shapes accurately. This step is crucial for maintaining the three-dimensional appearance, as isometric drawings do not use traditional perspectives.
Transforming Objects to Isometric View
Once the basic shapes are in place, transforming them into an isometric view is the next challenge. CorelDRAW offers various tools to achieve this. For example, the perspective tool or object transformation options enable adjustments to simulate depth.
Begin by selecting the object and then apply transformation commands to skew or rotate the object to fit the isometric angle. This technique shifts the visual perspective, giving the two-dimensional drawing a three-dimensional look. Fine-tuning these adjustments ensures a more realistic and visually appealing isometric effect.
Adding Details and Textures
Enhancing isometric illustrations with details and textures brings them to life. This process involves working with vibrant colors, smooth gradients, and realistic textures to enrich the visual quality of your artwork.
Working with Color and Gradients
To make isometric illustrations pop, using color effectively is key. CorelDRAW offers several tools to blend colors smoothly. Gradients are an excellent option to add depth and dimension, making flat images appear more dynamic.
He suggests using the Fill tool to apply gradients across large areas. By adjusting gradient angles and colors, artists can create compelling effects that catch the viewer’s eye. For beginners, experimenting with simple linear or radial gradients can be a great start before trying more complex patterns. A balanced use of colors and gradients can turn a simple illustration into something engaging.
Creating Textures for Realism
Textures enhance the realism of an isometric illustration. In CorelDRAW, textures can be added to different objects using features like the Texture Fill tool. This tool helps apply different textures to mimic surfaces like wood, fabric, or stone.
Adding textures can create a tactile experience, making illustrations look more lifelike. Experimenting with different texture settings allows artists to find the perfect fit for their drawings. They can also layer multiple textures for more complexity. Guidance from Corel Discovery Center can be handy for understanding different techniques and achieving the desired effects. By focusing on textures, artists can significantly improve the quality and depth of their isometric illustrations.
Shading and Lighting Effects
Creating effective shading and lighting in isometric illustrations adds realism and depth. By playing with light sources and adding shadows, artists can make their illustrations appear more three-dimensional and engaging.
Adding Depth and Volume
To create depth and volume in an isometric illustration, it’s important to use shading effectively. Start by choosing a light source direction. This will help determine where shadows should fall and which surfaces will be lighter.
Using a gradient tool helps create smooth transitions between light and dark areas. This adds a soft, realistic touch to objects. Try experimenting with different shading techniques like cross-hatching or stippling for a textured look. Applying these techniques makes the illustration stand out and appear more lifelike.
Playing with Light Sources
Selecting and manipulating light sources is key to realistic images. First, choose a primary light source. This sets the direction from which light hits the illustration. The angle and intensity of light can change the mood or tone. For instance, a bright light can make the scene feel vibrant, while softer light creates a calmer atmosphere.
Consider using multiple light sources for more complexity. This can add additional highlights or soft shadows. Adjusting the shadows and highlights based on light sources makes the artwork vivid and three-dimensional. This technique enriches the visual appeal and impact.
Tips for Efficient Workflows
Creating isometric illustrations in CorelDRAW can be streamlined through clever use of shortcuts and organizing techniques. By adopting customized tools and well-structured layering methods, users can accelerate their design process significantly.
Using Shortcuts and Custom Tools
In CorelDRAW, utilizing keyboard shortcuts can save a lot of time. Functions like copy, paste, and undo have default shortcuts, but users can create custom ones for specific tasks.
For designers who frequently work on isometric illustrations, assigning shortcuts to toggle grids or adjust angles can be particularly handy.
Another technique involves creating custom tools or actions that automate repetitive tasks. For example, setting up macros for applying standard transformations or styles can reduce manual work. Using tools like ColliderScribe helps combine shapes easily, enhancing workflow speed. Exploring third-party plugins that complement CorelDRAW can also expand functionality and further enhance efficiency.
Organizing Layers and Objects
Proper organization of layers is crucial in maintaining clarity. Designers should name each layer descriptively instead of relying on default names. This practice makes navigation easier when dealing with complex designs.
Grouping related objects and using color codes can further simplify layer management. This helps in quickly locating specific elements without having to sift through multiple layers.
Consistently locking layers that are complete or not currently being edited prevents accidental alterations. Adjusting the isometric grid settings as needed ensures that designs stay aligned, making the entire workflow smoother and more efficient. Regularly checking and updating layer order can also prevent confusion during later project stages.
Finalizing and Exporting Your Artwork
Before finalizing your isometric illustrations in CorelDRAW, make sure your work is consistent and ready for export. You’ll want to check for consistency in your design elements and use appropriate export settings based on where your artwork will be displayed.
Checking for Consistency
Consistency ensures that the final artwork looks professional. It’s important to review color schemes and line thickness across your illustration. Use the color palette feature in CorelDRAW to make sure that shades and tones match correctly.
Check the alignment of objects. The snapping tools can help align isometric elements to the grid, keeping everything uniform. Another aspect to consider is text, where font sizes and styles should be consistent. The typography should align with the overall design theme.
Export Options for Different Mediums
When you’re ready to export, consider the medium in which the illustration will be displayed. For print, it’s crucial to use high-resolution settings. CorelDRAW provides options to export in PDF or high-quality TIFF formats, preserving detail and color accuracy.
If the artwork is for digital platforms, such as social media or websites, export in a format like PNG or JPEG. These formats balance quality and file size, making them ideal for online use. Adjust the settings to fit specific platform requirements, ensuring the best resolution possible for the target medium.